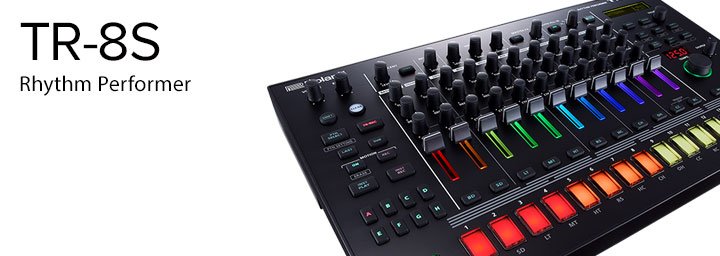
Adding Flams to your Pattern
- Press the Start/Stop Button to play your selected Pattern.
- Press the TR-REC Button to enter Step Recording Mode.
- Hold Shift and Press the Sub Button, the Display shows ‘Flam’.
- Press an Instrument Select Button to add a Flam to the selected Instrument.
- Press one or more Pads [1-16] to add Flams to your Pattern.
- Press the Sub Button again to turn off Flam Recording.
Adjusting the Flam Spacing
- Hold Shift and press the PTN Select Button to view the Pattern Setting screen.
- Turn the Value Knob to select Flam Spacing and press Enter.
- Turn the Value Knob to adjust the Flam Spacing.
Please Note: Each time you hold Shift and press the Sub Button, its function alternates between Sub and Flam. If you press the Sub Button and then press one of the Pads [1-16], and the Pad lights in yellow, you’ve just added a Sub Step. If you want to input a Flam instead, hold Shift and press the Sub Button again to switch to Flam. Then press the Pad once to remove the Sub Step, then again to input a Flam. The Pads with Flams assigned to them light up in Purple.
PRO TIP
When you’re not recording, it’s a good idea to press the INST Play Button to go back into INST Play Mode, so you avoid recording unintended steps. In INST Play, the Pads [1-11] play the corresponding Instruments without recording any Steps into the Pattern.Article written by Alex Marlowe
 Alex Marlowe is a Composer/Producer, Musician and Consultant based in Melbourne, Australia. Alex has placed music in numerous movies and TV shows, and toured worldwide as a keyboardist with major artists. As a Teacher and Consultant, Alex has worked with platinum songwriters, music editors, producers and composers, and conducted courses in Music Production and Music Software, including at the Songwriting School of Los Angeles. You can find more info, and contact Alex at: www.logicproanswers.com


