Welcome to the TR-6S Ultimate Guide – Basics! The new rhythm performer from Roland has much more than meets the eye and is a great way to get started with beat-making or get hands-on with music production.
There’s a lot to get through, so this guide has been split up into 4 parts:
Table of Contents
Powering on your TR-6S for the first time
First things first, let’s power it on and go over the basics.
To get it running, either insert the 4xAA batteries included in the box, or use a USB type A to type B cable, plugged into a computer or USB power adapter.
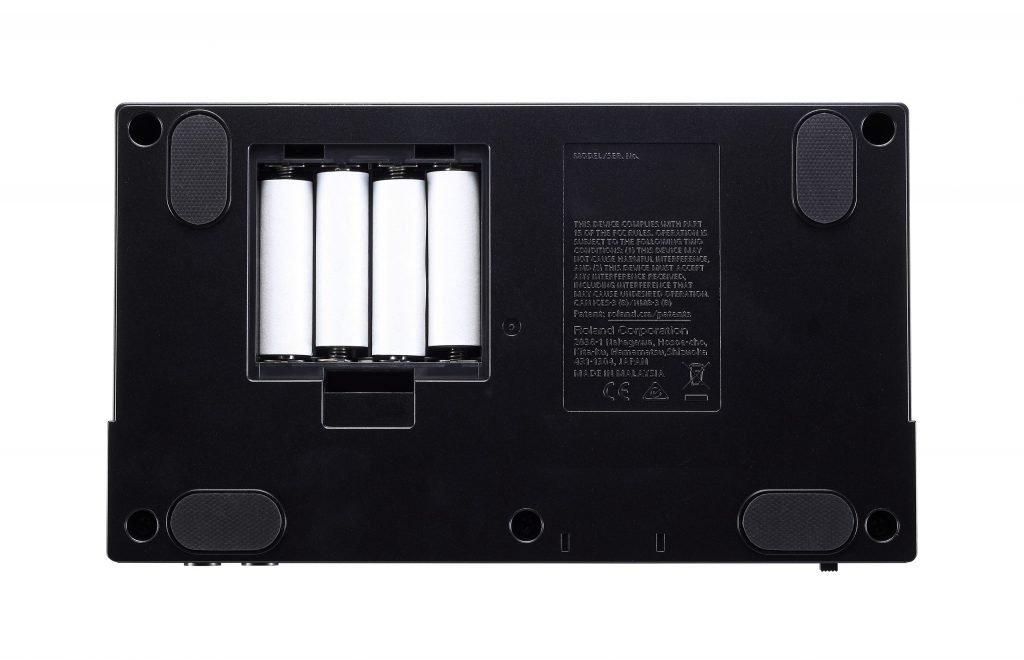
Plug in your headphones on the front of the device, or speakers on the back. Ensure that the VOLUME knob is all the way down and that the faders on each channel (the vertical strips above BD, SD, etc.) are all up. Turn on the TR-6S using the switch is on the back, then turn on your speakers if you’re using them.
Press START/STOP to play the first default pattern. Slowly turn the VOLUME knob up until you’re satisfied with the level.
To cycle through the pre-made patterns, press PTN SELECT, then turn the VALUE knob or press one of the 16 pads on the bottom. The orange pad is the pattern currently playing. There are 16 patterns in each bank, displayed as “1-01” to “1-16” on the display.
To cycle through banks, hold SHIFT and turn the VALUE knob, changing “1-01” to “2-01” etc. Keep in mind that if your pattern is still playing, the next pattern will only begin to play once the current one is finished, which could be up to 8 bars.
Programming a pattern in TR-REC mode, adding accents and muting channels
You’ve now heard what the TR-6S is capable of, let’s make our own beat!
- Make sure that PTN SELECT is highlighted green, then turn the VALUE knob until you see “PATTERN: 5-01” displayed on the LCD screen, this is the first blank pattern on the TR-6S.
- Press TR-REC, then press BD to bring up the step sequencer on the 16 pads at the bottom of the TR-6S. It’s called a step sequencer because you sequence the pattern on 16 “steps”.
- Press the 1st, 5th, 9th & 13th pads (the white pads), making them red. This will put a bass drum (BD) on these steps.
- Hit START/STOP to play the pattern. You should hear a 4-to-the-floor kick rhythm. You can adjust the volume of the BD by changing the position of the fader above the BD button.
- Select the CH button and the pads will now be grey. Press the 3rd, 7th, 11th & 15th pads to sequence a closed hi-hat on the off-beat.
- Select HC, and press the 5th and 13th step sequencer pads, giving you a clap on beats 2 and 4.
Congratulations, you’ve just programmed a simple house beat!
If you want to remove a step from a pattern, select the instrument and press the red pad to remove the step. To clear an entire instrument’s pattern, hold clear and press the appropriate instrument (BD, SD, etc.).
To add accents to your pattern, hold BD and press SD (highlighting them both in green), then apply accents to the step sequencer. Control the level of the accent by turning the TUNE knob while BD and SD are highlighted. Press any instrument to exit accent mode.
If you want to MUTE an instrument channel, hold SHIFT and select an instrument channel. To UNMUTE, hold SHIFT and press the muted instrument channel. You can hold SHIFT and press multiple channels to MUTE or UNMUTE them simultaneously.
Experiment with the instruments and step sequencer to expand on the beat and build your own unique pattern.se
Recording a pattern in INST-REC mode and adding accents
If you’re continuing from the previous step, press INST REC to highlight it red. If the pattern is not playing, press one of the coloured pads at the bottom to trigger the sound attached to that pad. Press START/STOP and a green light will move from left to right on the step sequencer.
As an example, let’s record a snare drum. Find the step labelled SD, and as the green light travels from left to right, whenever you press the corresponding coloured pad, that instrument will be recorded on the step sequencer.

To input a soft note, hold SHIFT and press a step while TR-REC is highlighted, this can be done on any instrument. How cool!
INST REC mode will auto-quantise your beat, meaning it will move off-time notes to the closest beat. Programming a beat on the TR-6S couldn’t be easier!
Any notes you record in INST-REC mode will also appear on the step sequencer in TR-REC mode, so you can fine-tune, add and remove notes as desired.
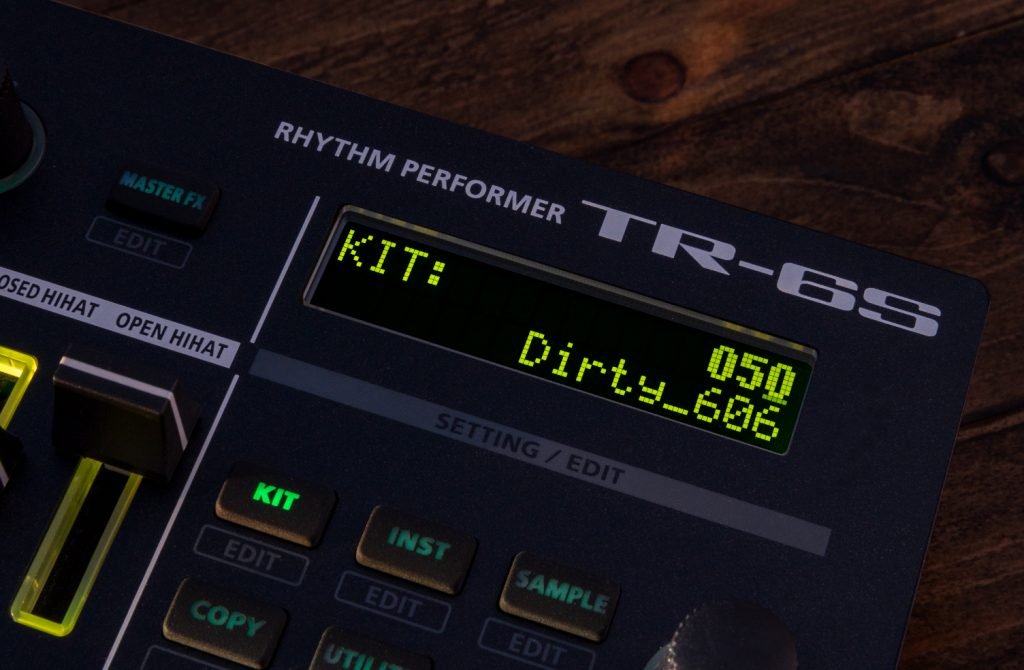
Selecting your drum kit
The TR-6S has a lot of drum kits – 128 to be specific. The first 68 are pre-made, the rest are empty for you to make your own!
To access and change the drum kit, press KIT, then turn the VALUE knob to find a kit you enjoy. You can hold SHIFT and turn the VALUE knob to move the selector in groups of 10.
Modify and name your drum kits & instruments
Each instrument can be modified within its drum kit. To change the bass drum, for example, press BD, then press INST to highlight it green. Turn the VALUE knob to change the bass drum to the instrument shown on the screen.
You can change the pitch (TUNE) and length (DECAY) of the chosen instrument by turning the TUNE and DECAY knobs at the top of the TR-6S. The CTRL knob may or may not have a parameter assigned to it, but we will discuss that later.
To change a channel to a different instrument entirely, hold SHIFT and turn the VALUE knob. This allows you to cycle through bass drums, snares, hi hats etc. Release SHIFT then use the VALUE knob to cycle through different sounds. You are not locked into the BD track being a bass drum, or the CH being a closed hi-hat etc. Customise your drum kits anyway you like!
To rename your kit, hold SHIFT and press KIT, hold SHIFT and turn the VALUE knob until you see KIT:NAME. Press VALUE, then create a fun name 🙂
Performance made easy with INST PLAY mode
If you have followed steps 1-4, you should have a quite full pattern, complete with a custom kit to your taste. But if you would like to add some extra p’zazz to your track without committing to anything, use INST PLAY mode.
Access this by holding SHIFT and pressing INST REC, causing it to flash green. Viola, you’re now in INST PLAY mode. From here, you can press any of the 6 highlighted step sequencer buttons and trigger the sound attached to the pad without committing it to the pattern. This is a great way to develop and experiment with an idea before using INST REC mode to record it.
Add rolls in INST PAY mode
Performing a roll on the TR-6S can be done 2 ways:
- Ensure that you are in INST PLAY mode, then hold step 7 (labelled “16th” below it). Simultaneously hold the desired instrument, for example, CH. This will perform a 16th note roll on the CH instrument. If you instead hold pad 8 and press CH, you will perform a 32nd note roll. Holding both 7+8 together will produce a 64th note roll.
- The other method is to hold SHIFT+INST REC, then press step 7, 8, or 7+8 together, which will lock in the roll value. Release the hold, then hold the desired instrument. Pressing step 7 or 8 will release the hold.
Change the feel with shuffle and tempo
The shuffle function is a great way to add some groove and feel to your pattern.
Press SHUFFLE, then use the VALUE knob to change the setting, once again, holding SHIFT will move in steps of 10. At 0, the beat stays straight on count. Pushing the VALUE knob into positive territory will force every second step of your pattern further from the step before it. Negative values will put every second step towards the previous beat. This will only be audible if you have steps on 16th notes. Experiment to find a setting that you like.
To change the TEMPO, press TEMPO and turn the VALUE knob. The display indicates the speed in beats per minute (BPM). Holding SHIFT and turning the VALUE knob will change the TEMPO in increments of 0.1 for fine-tuning.
Alternatively, you can hold SHIFT and tap the TEMPO button 3 or more times to change the tempo to the average speed at which the button is pressed. This is known as tap tempo.
That concludes the first part of the TR-6S Ultimate Guide – Basics. From here you should be able to choose sounds and programme your own beats. There’s plenty more to dive into, so read on to learn about chaining sequences, adding effects and much more.
Read part 2 of the guide here: https://rolandcorp.com.au/blog/tr-6s-ultimate-guide-effects
See more of the TR-6S here: https://www.roland.com/au/products/tr-6s/
Looking for more information? Check out the video manual below
Contributed by Joel Tullemans
https://www.sirpants.com/


