While V-Drums modules offer the most in-depth editing and customization you can imagine, there are times when only the exact sound will do. Enter WAV samples.
Preparing WAV samples for triggering from V-Drums is crucial.
This exact sound could be a particular drum hit or a breakbeat from an album. It could also be a sample from your own music.
No matter which sounds you choose, here are some fundamentals to be aware of, as well as steps that you can take to ensure that your samples sound and play the best that they can.
Contributed by Simon Ayton for Roland Corporation Australia
Sourcing the sounds
- Respect copyright laws: Don’t use any sounds or another artist’s work before first checking for usage allowances, or asking the artist and publisher for their written permission. If they refuse, or you don’t get a response, don’t use it.
- Though it is possible to extract certain sounds in particular frequency ranges through the use of filtering or phase cancelling, it’s crucial to remember that audio is like a baked cake, where the individual ingredients are already mixed and combined together.
- Get the original, uncompressed WAV or AIFF format sounds where possible. Avoid MP3 or MP4 files as they are ‘lossy’ formats with inferior sound quality.
- For the best audio quality, keep the original sound in the digital domain unless you are taking it off a record, a tape or another analog medium. Use the best quality audio interface that you can find for this analog to digital recording.
Check out Roland UA Interfaces and Recording Guides.
Preparing the sounds
Import and Convert
Samples need to be in WAV format. If you have sounds in any other format, convert them using freely available software such as Audacity or iTunes.
In iTunes, simply make sure that your import preferences are set to:
- WAV
- 44.1 kHz
- 16 bit
Choose ‘Create WAV Version’ from the main menu in iTunes.
See your particular piece of gear and your software for specific audio requirements.

Trimming and editing sounds – “Top and Tailing”
“Consider the nature of the sound that you are editing very carefully for the best playability.”
With plucked and struck percussive sounds, there is an initial attack transient where the hand, beater or stick hits the instrument. This is followed by a second, larger transient, when the instrument actually resonates and produces the main body of the sound.
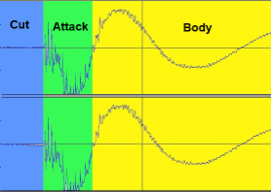
Trimming a sound like a kick drum too closely to the main body transient means that you lose the initial beater attack. This decreases the snap of the kick drum and its in-your-face nature. It will also make the sample feel strange to play.
The result can sound like you are pushing or rushing time, as it will start too early.
For accuracy when editing, zoom in on the audio file to see where the actual sound starts. Aim for no silence at the beginning of the sample before the initial attack, or at the end, after the main body of the sound has decayed. Doing this ensures that the sample plays instantly when triggered, and then fades naturally, taking no more space than is absolutely needed.
Once done, and if available, use the ‘Truncate’ or ‘Trim’ feature in your software editor, to return all unused data back to memory to save you some valuable space.
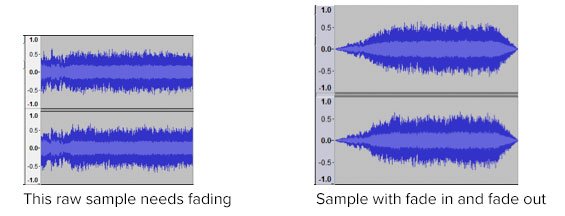
Fade In and Fade Out
To soften the start of a sample, use a volume fade in. This is particularly useful if something has been roughly sampled from a record for example.
Fade out the ends of WAVs to avoid clicks. Use a fade out to reduce obvious noise over a quiet tail section of a sound.

Restoring sound quality
De-noising/De-crackle/De-hum/De-hiss
“Taking care to make sure samples don’t have excessive noise and clicks will save you valuable time later.”
Remember that hiss will increase dramatically when playing samples polyphonically (multiple sounds at the same time).
Special care must be taken with sounds such as cymbals, or other percussion sounds with longer tails that are often played polyphonically.
“Don’t wait until soundcheck at the gig to discover that your samples are noisy.”
As with any sort of sound removal tool, de-noising can cause unwanted side-effects referred to as ‘artifacts’, which can reduce the impact of the sample, making it sound duller and less exciting.
“A way around unwanted audio artifacts is to apply the de-noising after the initial attack has occurred.”
You can do this in any audio software program by crossfading the original audio file with the de-noised version.
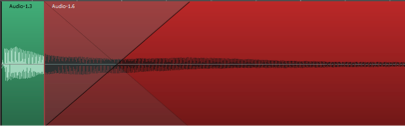
You can also do this by creating a stereo track for the original file and a second stereo track with the de-noised version. Then, simply fade the volume of the original one down whilst fading the de-noised version up at the end.
Either way, you end up with a new output file with a clear, bright start and a quiet end.
Equalization and frequency specific filtering are very useful tools for preparing samples.
Use a low-cut or high-pass filter to remove frequencies below a certain frequency, like rumble or hum, and let high frequencies pass through unaffected.
More about de-noising:
One trick that’s used to reduce noise is to take a sample or ‘noise print’ of the noise itself during a section of the audio.
When this noise is phase inverted and added back into the original signal, the result is a signal where the noise element is greatly reduced.
This is thanks to phase cancellation.
This technique is also combined with EQ, to reduce or partly remove vocals from mixed music to create karaoke style ‘minus voice’ mixes.
![]()


Some typical rumble or hum removal EQ/filter settings:
Male voice de-popping: High-pass filter set to 80-100Hz
Female voice de-popping: High-pass filter set to 120-140Hz
AC hum reduction: Sharp high-pass filter set to 65-75Hz (takes care of 50Hz and 60Hz hum)
![]()
Use a high-cut or low-pass filter to remove frequencies above a certain value, such as hiss, or even hi-hats or cymbals. For example, a kick or bass sound might benefit from only letting certain frequencies through and reducing unwanted ‘bleed’ from high frequency sounds, which may have been unintentionally captured in the recording process.
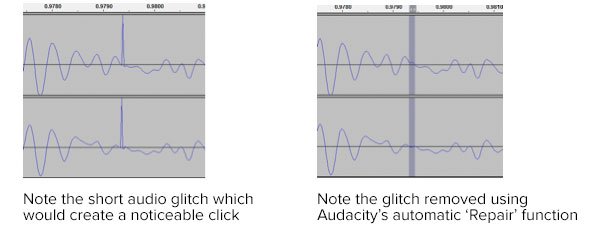
Additional dedicated plug-ins are widely available to handle problems like noise, hum, crackle and clicks, quickly and easily.
There are several cheap or free audio programs with these features built-in to help with this process. Adobe’s Audacity audio editor for example, includes tools for click and noise removal too.
DC offset – Why it’s bad and how to remove it
Any audio signal cycles through both positive and negative phases.
If the average level of both the positive and negative cycles is not equal, this difference results in a DC voltage offset, causing an audible click when starting or stopping playback.
Apart from causing clicks and distortion, DC offset also makes click-free editing nearly impossible and reduces the maximum volume that can be achieved by the normalizing process.
DC offset can be introduced into the initial recording stage of an analog to digital recording. It might be caused by poor grounding, or noise from an inferior audio soundcard for example.
Luckily, it’s quick and easy to remove DC offset without any loss of sound quality. Some programs even offer DC offset as part of the normalize process.
DC offset makes the waveform appear to ‘float’ above the horizontal X-axis or 0dB.
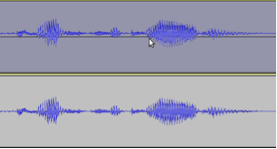
(Below) Waveform with DC offset removed
Normalize your sounds to maximize volume
Prepare your WAV samples by maximising their volume.
Normalizing does not add artifacts or change the sound quality. Instead, it ensures that your sounds are at their maximum digital level without clipping.
“Normalizing is an ideal last step in the sample preparation process.”
Normalizing audio helps as a starting point when matching levels of sounds. It also makes sure that the output level of the sound is above the noise floor of your instrument’s audio outputs, to provide the best signal to noise ratio.
Normalizing often comes in two different forms, which are explained here.
Peak Normalizing
The entire audio file is analyzed to find its loudest peak. Then, the volume of the entire audio file is boosted proportionally to this level.
This is the most common form of normalizing.
RMS (Root Mean Square) Normalizing
The entire audio file is analyzed to find the average audio level or ‘power’ and then the volume of the entire audio file is adjusted.

It’s very important to note though, that adding any effect like compression, EQ and even sample and bit rate conversion can boost the volume of the audio file into clipping. Always check your final output level to maintain headroom before clipping.


Triggering the sounds and samples
Once you’ve prepared your sounds and WAV samples for triggering, you need an instrument to play them. Here are some of the most popular instruments to consider.
TM-1
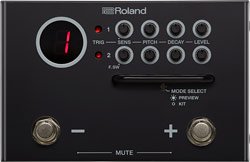
WAV sample trigger module with two trigger inputs and front panel footswitches.
SPD:ONE Series
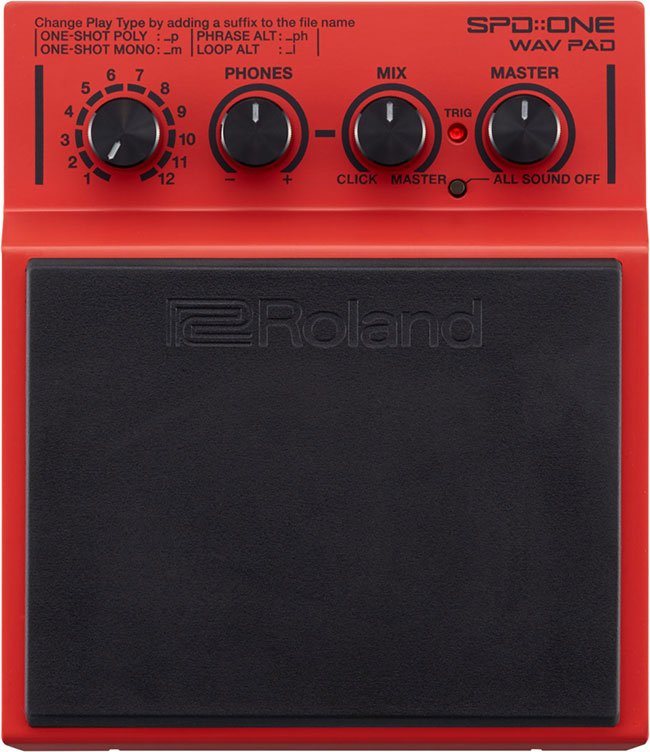
Single pad WAV sample trigger module
TM-2
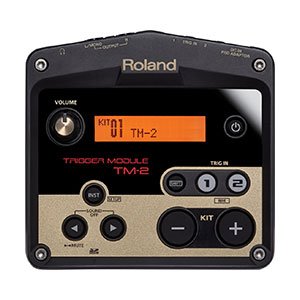
Sample trigger module with two dual trigger inputs and SD Card WAV sample load.
SPD-SX
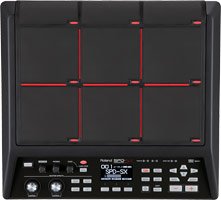
Industry standard multi-pad WAV trigger sampling pad unit with nine front panel triggers and a wealth of expansion options.
TM-6PRO
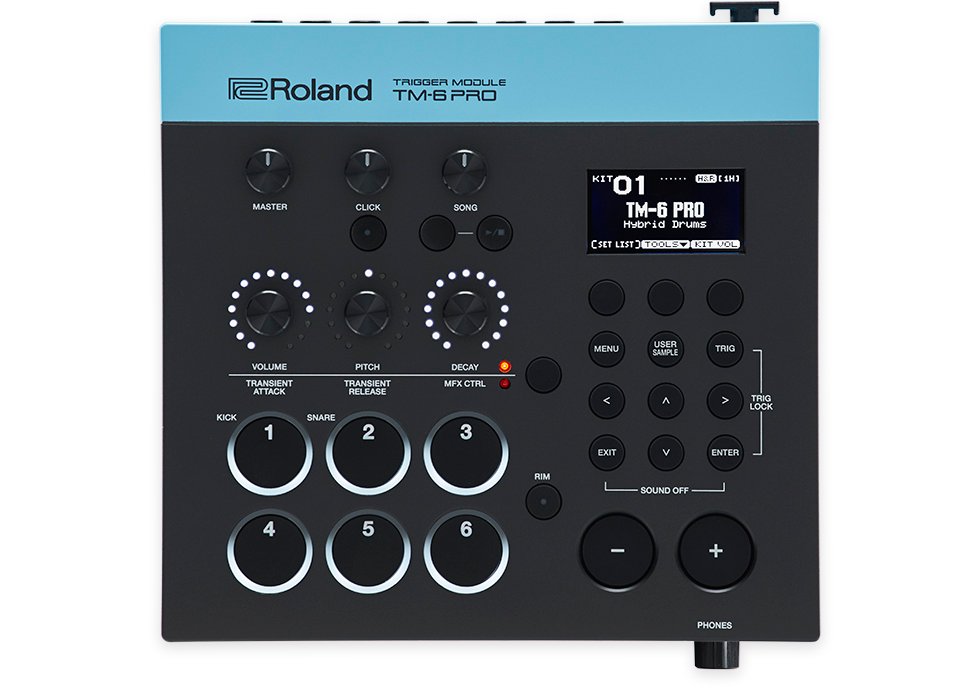
Drummer oriented WAV sample trigger module with multiple ins and outs, SD Card playback and import and unique transient tool.
HPD-20
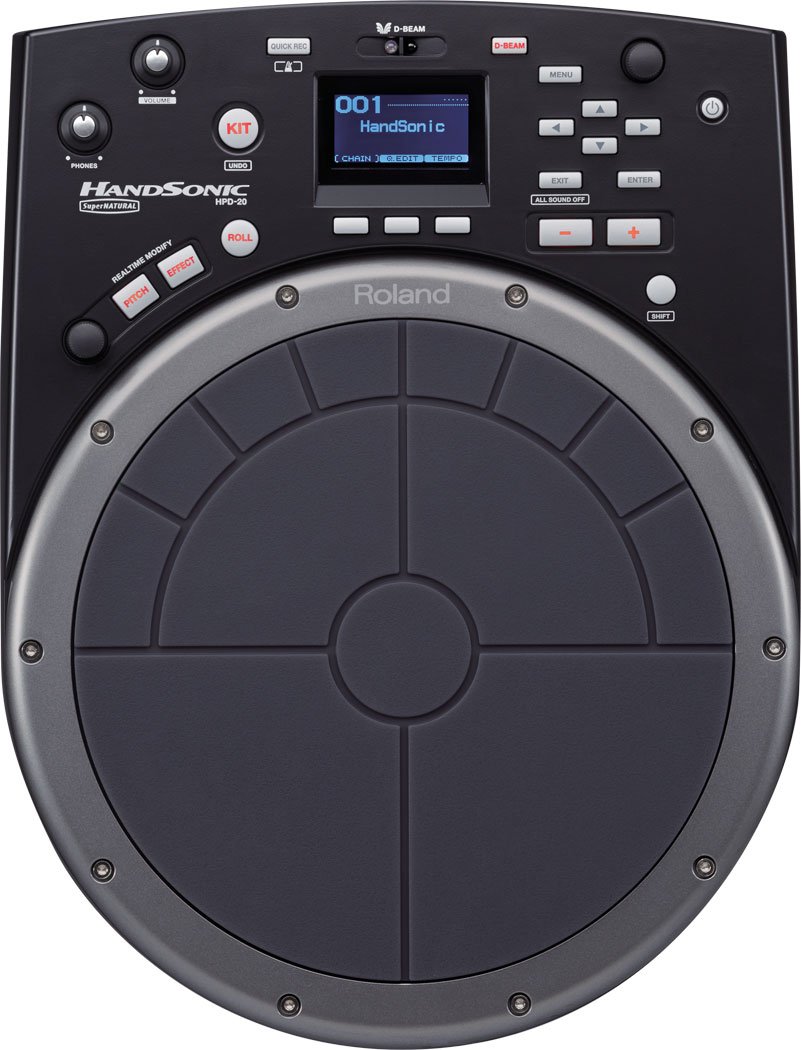
Hand percussion pad with thirteen front panel trigger pads, USB WAV sample import and numerous performance capabilities
TD-17
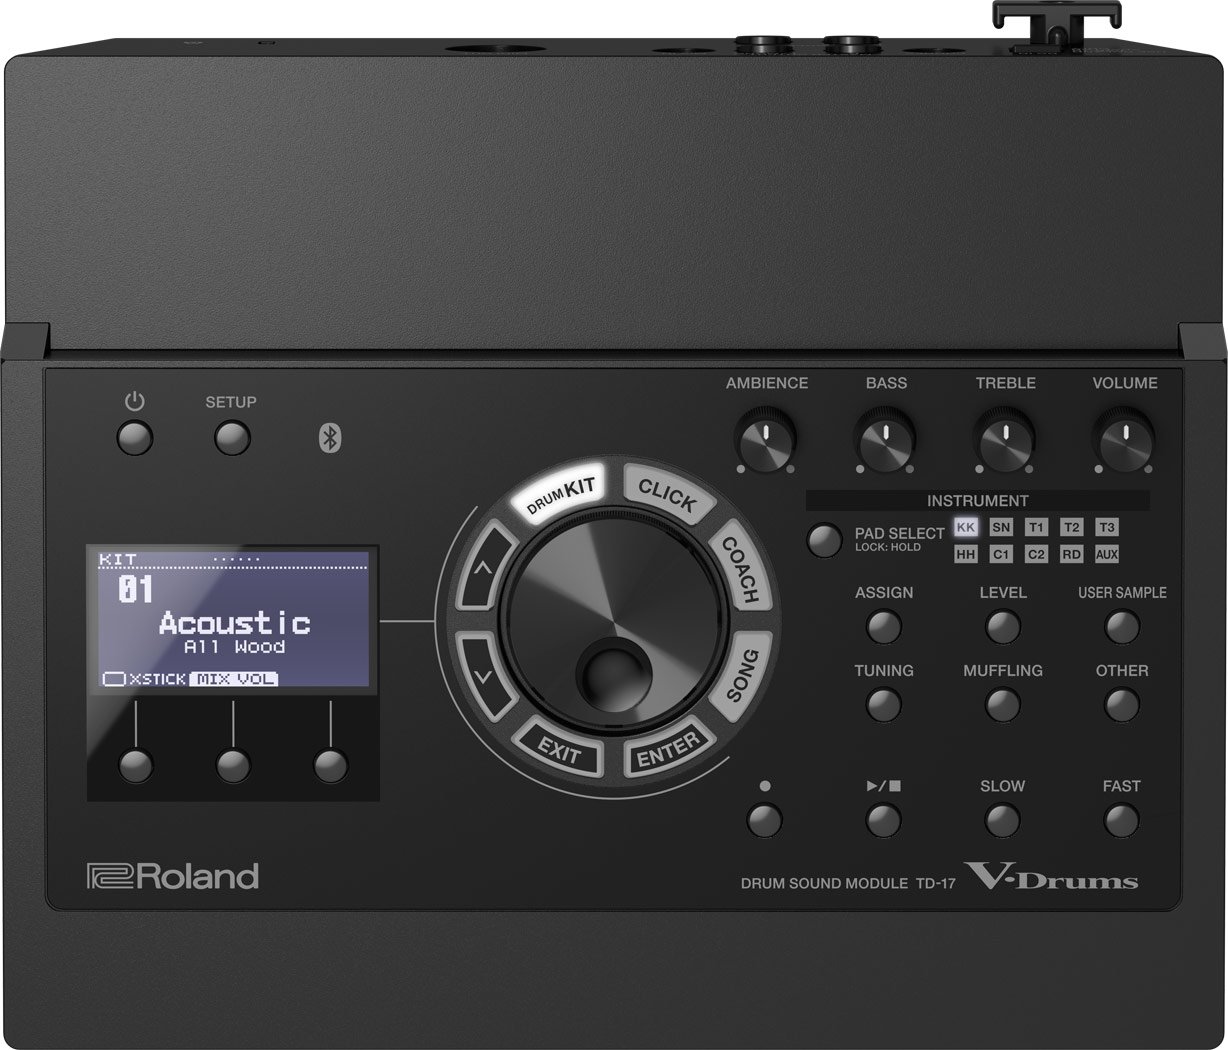
V-Drums sound module with WAV import and 15 external triggers to build a kit round.
TD-50
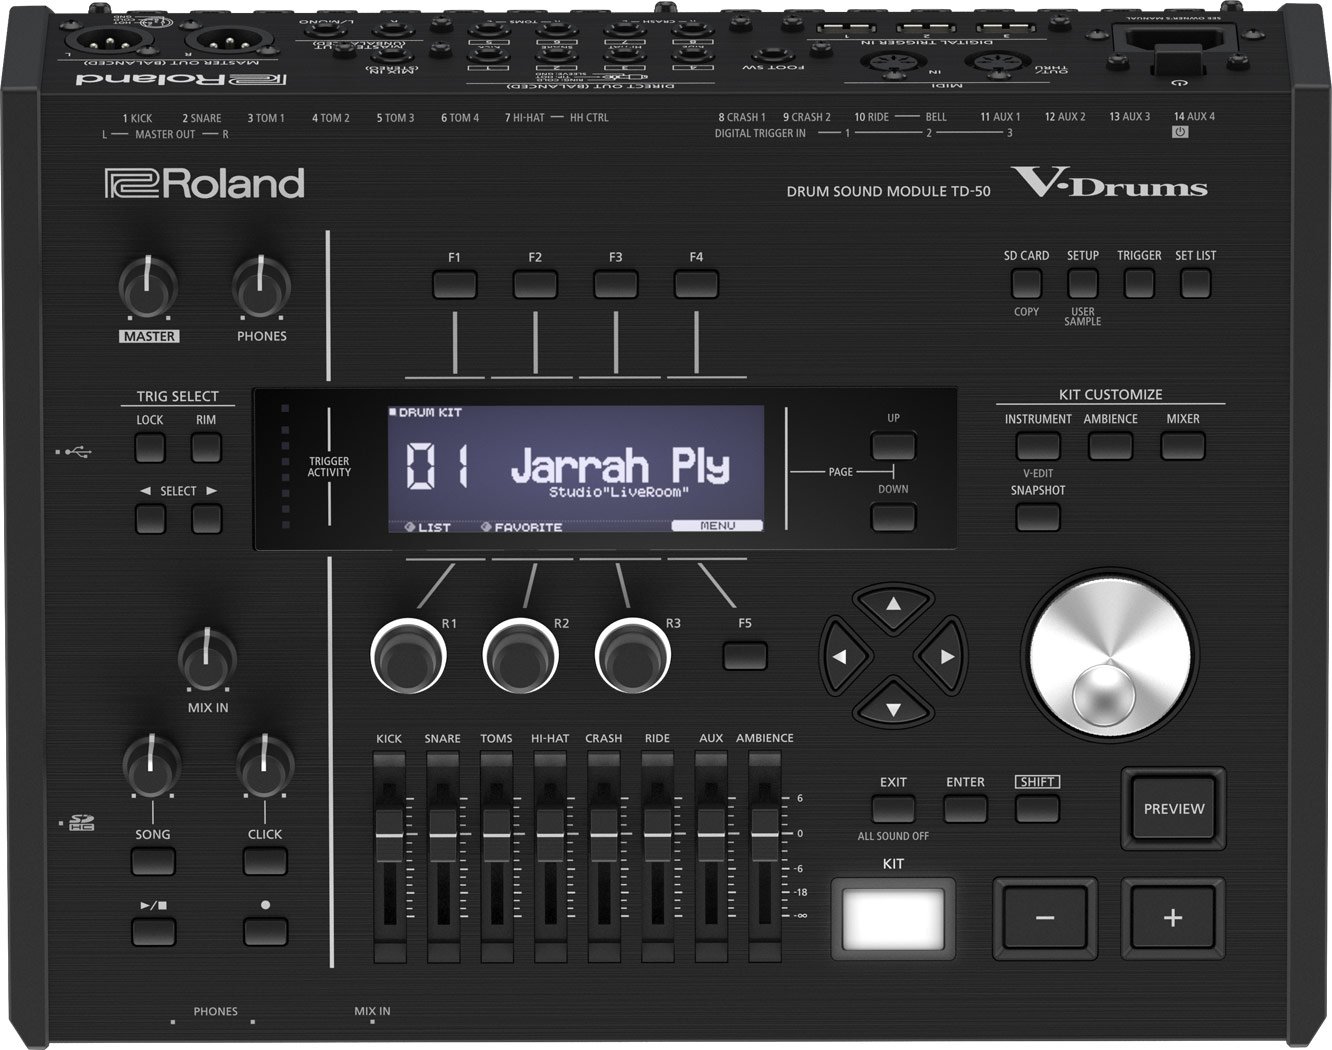
Top of the range V-Drums sound module with balanced outputs, digital triggers and extensive WAV player and sample import capabilities.
Final Word
No matter how and with which piece of equipment you intend to use your samples, spending time preparing them properly will ensure the best possible experience for both the player and listener.
Related Articles
EXPANDING AND CUSTOMIZING YOUR V-DRUMS
THE COMPLETE GUIDE TO THE SPD-SX SAMPLE PAD
SMALL DEVICE, HUGE IMPACT BY DIGITALDRUMMER MAGAZINE
COMPUTER MUSIC PRODUCTION FOR BEGINNERS PART 1: THE ESSENTIALS
Related Products