Then press Pad 8 to choose Bank #8. Release the PTN Select button and press Pad 1 to select Pattern #1.
Press the TR-REC Button, just to the right of the PTN Select Button, to enter Step Recording mode.
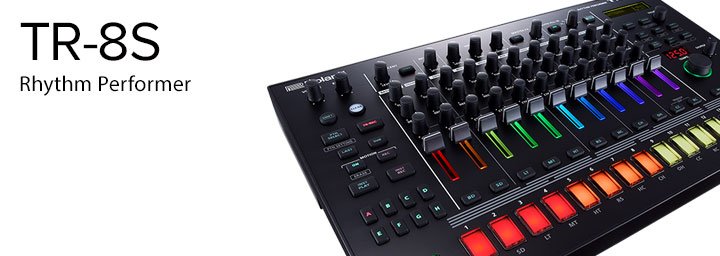
Press the BD button, just below the far left fader on the front panel, to select the Bass Drum Instrument.
Now to create a basic “four on the floor” pattern. With a Bass Drum on each beat, press Pads 1, 5, 9 and 13. Those Pads will now light in red, showing the Bass Drum is assigned to each of the selected steps.
Press the Start/Stop button to start playing your pattern.
 Next to add the Snare Drum, press the SD button, just to the right of the BD button, to select the Snare Drum Instrument, then press Pads 5 and 13. The selected Pads light up in red, and the Snare Drum plays on the second and fourth beats of the measure.
Now for one more element, let’s add a classic “high hat on the upbeats”: Press the CH button to select the Closed High Hat Instrument. Press Pads 3,7,11 and 15.
Congratulations you’ve just created your first beat on the TR-8S!
(Of course, this activity can be highly habit-forming.)
Article written by Alex Marlowe
 Alex Marlowe is a Composer/Producer, Musician and Consultant based in Melbourne, Australia. Alex has placed music in numerous movies and TV shows, and toured worldwide as a keyboardist with major artists. As a Teacher and Consultant, Alex has worked with platinum songwriters, music editors, producers and composers, and conducted courses in Music Production and Music Software, including at the Songwriting School of Los Angeles. You can find more info, and contact Alex at: www.logicproanswers.com