In this article, we’ll cover how to use clicks and backing tracks without becoming a slave to the rhythm.
For many drummers, the mere thought of playing to a click strikes fear into the heart. On the flip-side, there are many others for whom the click is their best friend.
Playing comfortably with a metronome can open up many avenues for a drummer and help you to think of it as your best friend, rather than sworn enemy.
Contributed by Simon Ayton for the Roland Australia Blog
Enter the SPD-SX…
Firstly, to produce the solid click track you’ll be listening to, you need a playback device.
Using the SPD-SX, you can play full-length, stereo backing tracks, integrate effects and trigger all sorts of sounds to enhance your performance and sound.
To get started, here a few typical scenarios and solutions.
1. YOU JUST NEED A CLICK FOR EACH SONG IN YOUR HEADPHONES.
Easy!
Use the built-in click and set a ‘Kit’ tempo.
Set a different tempo for each kit patch in the SPD-SX and simply switch to a new kit patch for each new song.
The tempo light will instantly change speed, giving you a visual cue and pressing the start/stop button on the SPD-SX will start the click audio.
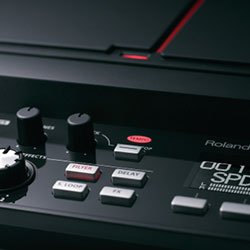
The click has its own volume control knob. You can route this click sound just to your headphones and also out the SUB outputs for other band members to hear. To start and stop it, use a foot switch or any of the pads.
2. YOU WILL BE PLAYING TO A BACKING TRACK AND WANT A CLICK TO PLAY IN TIME WITH BUT YOU DON’T WANT THE AUDIENCE TO HEAR THE CLICK.
In the past, the singer or some other member of the band has controlled the backing track.
The problem with this is the drummer becomes the slave to the flow of the show and this can affect the performance.
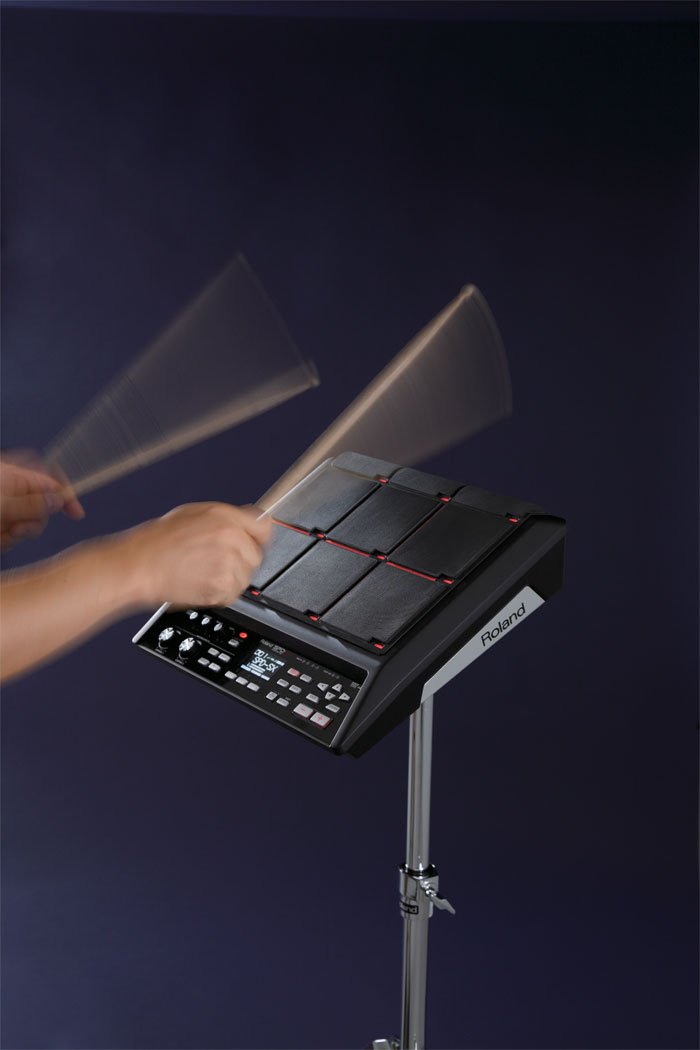
An ideal use of the SPD-SX is to have the drummer triggering the backing tracks from behind the kit.
Conducting the show is the the drummer’s role and speciality. They are supposed to be the masters of time and feel and the driving force of the band.
Seated where they typically are, they’re in a unique position to see that everyone is ready for the next song and this really helps the flow of the performance as they can wait until everyone’s ready, i.e. the guitarists have tuned, before kicking off the next song.
The backing track is loaded onto a pad of the SPD-SX and set to the ‘Phrase’ mode template.
On hit starts the show and another hit stops it.
Phrase mode ensures that the track is the same volume every time it’s played as the Phrase template has the velocity sensitivity disabled as a default.
This backing track is routed to the main outs and the headphones so the drummer can hear the music as can the audience and rest of the band.
So that’s the backing track taken care of. Now for the click.
Here are a few different obstacles you may face and how to get around them.
3. YOU KNOW THE TEMPO OF THE BACKING TRACK AND IT HAS BEEN EDITED TO START RIGHT ON THE BAR
Even though you may know the tempo of the backing track, it doesn’t necessarily mean when you trigger it that it will play right on the first beat of the bar. There may be a gap that will affect its timing especially if the track has been ‘ripped’ or extracted off CD.
In this case, you’ll need to edit it in a track based sequencing program like Sonar, Ableton Live, etc.
You can align it with a bar and make sure it plays perfectly with a click.
Export or ‘bounce’ this new fresh backing track from the bar so when triggered in the SPD-SX, it starts right on the beat. It’s a good habit to check all your backing tracks this way.
This is also a great time to decide how many bars click intro you want before the song starts. To save confusion, try to stick to the same amount of count-in no matter the song.
Two bars is a good safe amount. Pay attention the time signature of the count-in. Normally, you will want it to be the same as the song. For example, if the song is in 6/8, you’ll want two bars of 6/8 click not 4/4 as that can cause confusion.
Now that we have our backing track prepared and loaded into the SPD-SX, set the SPD-SX kit patch to this tempo via MENU-KIT-COMMON.
Next, start the click playing on the SPD-SX and then trigger the backing track pad on a down beat. As long as you hit the pad on a click beat, the two will now run together in time until the end of the track. You’ll hear the backing track and the click and the audience will just hear the backing track. They’ll think you’re a genius.
4. YOU DON’T KNOW THE TEMPO OF THE BACKING TRACK
This is the not so fun bit but it’s a hurdle every ‘self-producing’ drummer comes up against eventually. With practice, you’ll become an expert click-ologist.
Import the music into a sequencing program. Use the sequencing program’s beat/tempo matching functions or ‘tap temp’ to identify the beats per minute or BPM of the track.
This can be time consuming and it needs to be right. If it’s a known song, sometimes Google can help here, as many cover song backing tracks are done at the same tempo as the original, so often simply searching the song tempo can give you the BPM you need.
If you suspect the song tempo wanders and is not consistent, you’ll have to make your own click.
Try recording a cowbell or shakers in the sequencer along to the track.
You can also use the SPD-SX as a MIDI source to record notes that can then be used to generate a sound to act as the click.
(Hi-tech stuff? Not really. MIDI’s been round since Roland pioneered it 30+ years ago!)
Read about MIDI vs Audio Here
Once you have this new click, you can bounce it out on its own without the backing track to use in the SPD-SX.
Read on for this next step.
HAVING A PERFECTLY SYNCHRONISED BACKING TRACK AND CLICK EVERY TIME
This involves using the awesome ‘Pad link’ function on the SPD-SX to start the backing track and click at the same time.
Simply import your backing track and assign to pad 1.
Load your new click for it and assign this to pad 2.
A good tip is to name the click the same as the song with ‘click’ at the end so you always know which click goes with which song. For example, in your Michael Jackson cover band you’d use ‘Beat it’ and ‘Beat it click’ as the file names.
Now when you hit pad 1 to start the backing track, the click on pad 2 will miraculously start perfectly in time and continue until the end.
Make sure both pads mode templates are set to ‘Phrase’ for the reason discussed before.
In the pad routing settings of the SPD-SX you can route pad 2 to headphones so only you hear this click.
Now route pad 1 to the master outs and headphones.
In the pad settings, you can adjust the pad volumes of the backing track and click to get the blend just right.
This pad link click technique is a fantastic way to ensure the click is always exactly right with the backing track and it’s also the way to go if the track has tempo and timing changes.
As long as you play to the click, you’ll be right on with the music.
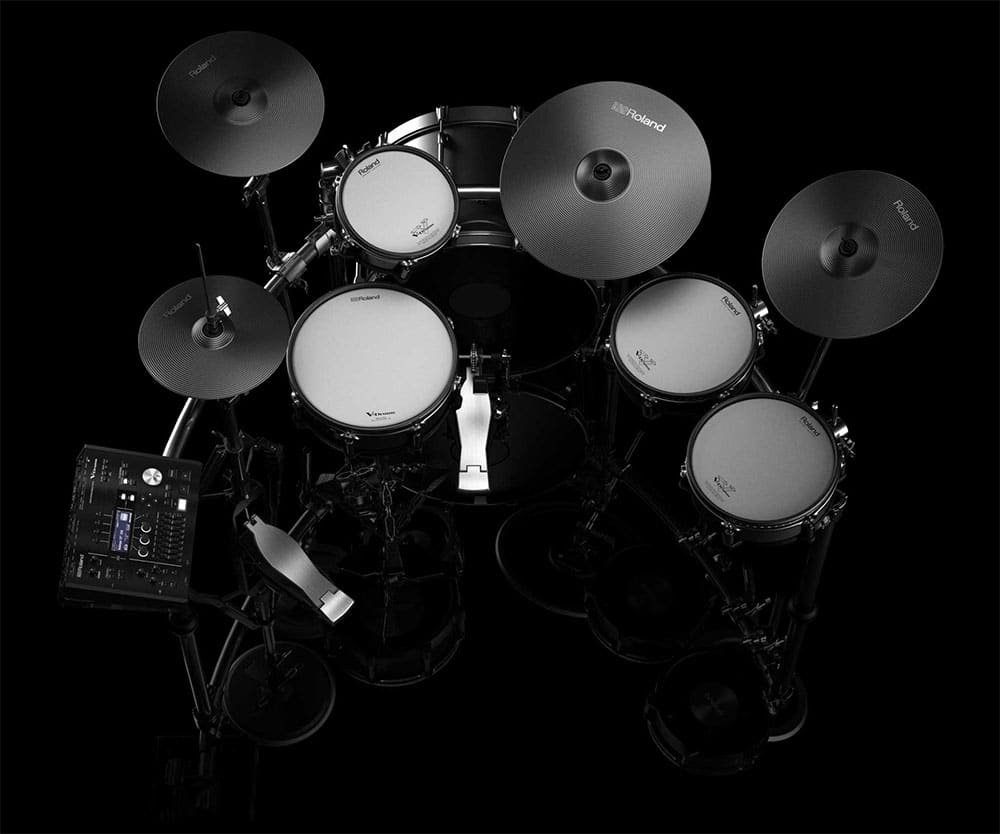
Using the TD-50 & TD-27 for Clicks and Backing Tracks
The TD-50 and the TD-27 series kits features 4-track audio playback directly from the front panel.
This useful feature allows a stereo backing track to play in perfect sync with a stereo click or rhythm track with the press of a button.
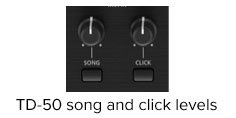
A separate click volume knob on the song player section of the TD-50 module allows you to easily adjust the click level at any time.
By simply naming the click file the same as the stereo backing track, but with “_click” added to the end of the name, the TD-50 will automatically route this click track to the headphones output while the stereo backing track routes to the main outputs for the audience to hear.
With the TD-50 and TD-27, You can freely change the routing of both these tracks inside the module.
See the video on How To Use The Roland SPD-SX Sampling Pad for Backing and click tracks on the Roland YouTube Channel below:
Some pro tips for using clicks and backing tracks
► Choose friendly sounds for your click that don’t drive you mad.
► Stick to the same amount of bars count-in for every song to avoid confusion
► ‘Slate’ the start of your custom click WAV file by recording yourself introducing the song and time signature
► Adjust the volume of the click so that when you’re playing right on with the backing and rest of the band, your drum sounds mask the click and you only hear it when you wander out of time.
► Be sure to adjust pad volumes so your backing tracks and click volume levels are matched across all patches for a slick sound
Other Roland Instruments for clicks and backing tracks
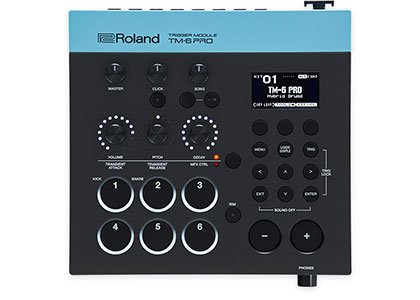
TM-6PRO
The TM-6PRO is a fully featured drum sample trigger module with multiple trigger inputs and audio outputs.
It’s built-in WAV player, much like the TD-50 module, allows synchronized stereo backing tracks and clicks that are freely routable.
TM-6PRO vs SPD-SX guide
See the article on the differences between the SPD-SX and TM-6PRO here
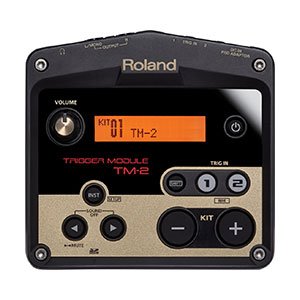
TM-2
Roland TM2 Trigger Module
The TM-2 is a compact, SD Card equipped sample player.
It has dual trigger inputs and stereo audio outs.
Samples can be imported and triggered from the front panel or external pads and triggers.
Created by Roland V-Drums specialist Simon Ayton, these patches were designed using the internal factory sounds and many of the techniques covered in the TD-50 guide. Enjoy exploring the possibilities!
 An ideal use of the SPD-SX is to have the drummer triggering the backing tracks from behind the kit.
Conducting the show is the the drummer’s role and speciality. They are supposed to be the masters of time and feel and the driving force of the band.
Seated where they typically are, they’re in a unique position to see that everyone is ready for the next song and this really helps the flow of the performance as they can wait until everyone’s ready, i.e. the guitarists have tuned, before kicking off the next song.
The backing track is loaded onto a pad of the SPD-SX and set to the ‘Phrase’ mode template.
On hit starts the show and another hit stops it.
An ideal use of the SPD-SX is to have the drummer triggering the backing tracks from behind the kit.
Conducting the show is the the drummer’s role and speciality. They are supposed to be the masters of time and feel and the driving force of the band.
Seated where they typically are, they’re in a unique position to see that everyone is ready for the next song and this really helps the flow of the performance as they can wait until everyone’s ready, i.e. the guitarists have tuned, before kicking off the next song.
The backing track is loaded onto a pad of the SPD-SX and set to the ‘Phrase’ mode template.
On hit starts the show and another hit stops it.
 Now when you hit pad 1 to start the backing track, the click on pad 2 will miraculously start perfectly in time and continue until the end.
Make sure both pads mode templates are set to ‘Phrase’ for the reason discussed before.
In the pad routing settings of the SPD-SX you can route pad 2 to headphones so only you hear this click.
Now route pad 1 to the master outs and headphones.
In the pad settings, you can adjust the pad volumes of the backing track and click to get the blend just right.
Now when you hit pad 1 to start the backing track, the click on pad 2 will miraculously start perfectly in time and continue until the end.
Make sure both pads mode templates are set to ‘Phrase’ for the reason discussed before.
In the pad routing settings of the SPD-SX you can route pad 2 to headphones so only you hear this click.
Now route pad 1 to the master outs and headphones.
In the pad settings, you can adjust the pad volumes of the backing track and click to get the blend just right.
 The TD-50 and the TD-27 series kits features 4-track audio playback directly from the front panel.
This useful feature allows a stereo backing track to play in perfect sync with a stereo click or rhythm track with the press of a button.
The TD-50 and the TD-27 series kits features 4-track audio playback directly from the front panel.
This useful feature allows a stereo backing track to play in perfect sync with a stereo click or rhythm track with the press of a button.
 By simply naming the click file the same as the stereo backing track, but with “_click” added to the end of the name, the TD-50 will automatically route this click track to the headphones output while the stereo backing track routes to the main outputs for the audience to hear.
With the TD-50 and TD-27, You can freely change the routing of both these tracks inside the module.
See the video on How To Use The Roland SPD-SX Sampling Pad for Backing and click tracks on the Roland YouTube Channel below:
By simply naming the click file the same as the stereo backing track, but with “_click” added to the end of the name, the TD-50 will automatically route this click track to the headphones output while the stereo backing track routes to the main outputs for the audience to hear.
With the TD-50 and TD-27, You can freely change the routing of both these tracks inside the module.
See the video on How To Use The Roland SPD-SX Sampling Pad for Backing and click tracks on the Roland YouTube Channel below:
 The TM-6PRO is a fully featured drum sample trigger module with multiple trigger inputs and audio outputs.
It’s built-in WAV player, much like the TD-50 module, allows synchronized stereo backing tracks and clicks that are freely routable.
The TM-6PRO is a fully featured drum sample trigger module with multiple trigger inputs and audio outputs.
It’s built-in WAV player, much like the TD-50 module, allows synchronized stereo backing tracks and clicks that are freely routable.
 TM-6PRO vs SPD-SX guide
See the article on the differences between the SPD-SX and TM-6PRO here
TM-6PRO vs SPD-SX guide
See the article on the differences between the SPD-SX and TM-6PRO here